Friday, October 5, 2012

Creeper Critter: Drake

 Hello and welcome~
It's been way too long since the last time I updated here, but here's one of the most interesting lil' projects I've done recently. It's a sort of kind of dragon-ish plush-doll... Thing...  Scroll down and you'll see~ ;D


As always, the first step is the idea sketch. This lil' critter was inspired by a couple of illustrations I did about a year ago.

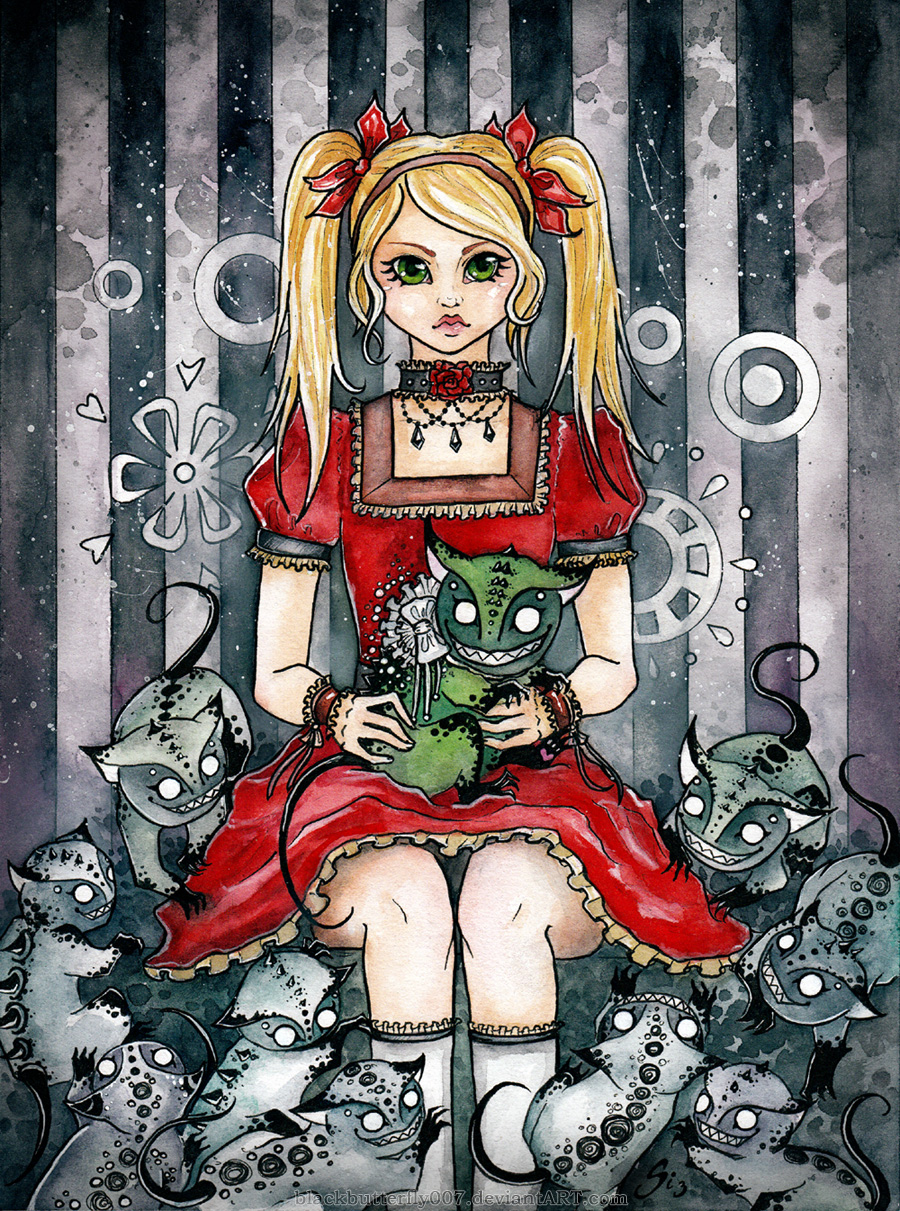
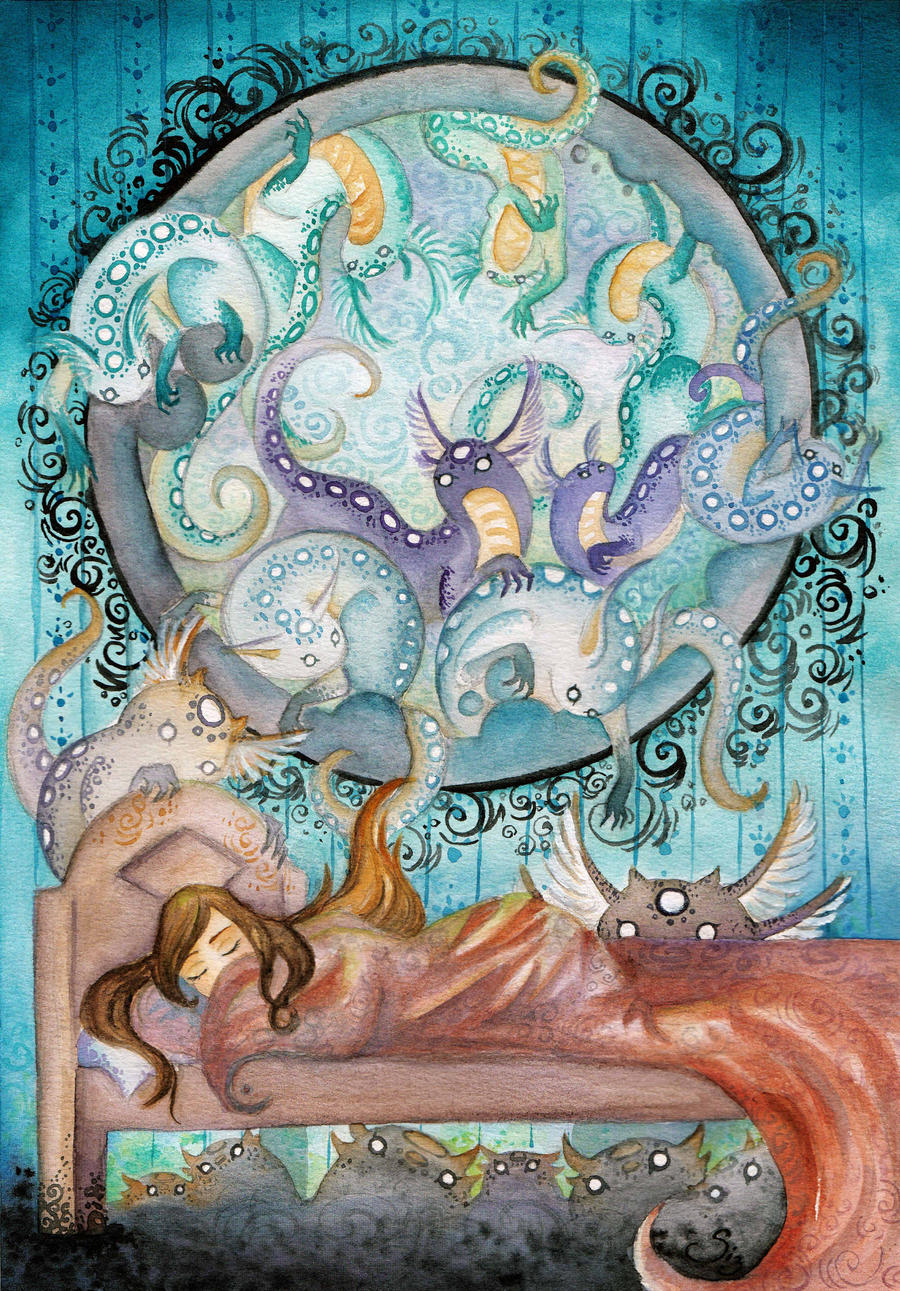
 And the inspirational illustrations~

The head is made out of polymer clay 'Cernit' and the feet + horns are made out of air dry modelling clay 'Das'. Used copper wires+folium as base for both the head and feet.
Oh! And to get all the lil' curves and details, I got to try out some dental tools from my awesomeness classmate. :D

The head has been baked+added horns. I didn't do the horns from polymer clay because... Well, that stuff is damn expensive... Even tho the the air dry clay isnt as durable if it should somehow magically drop on the floor...

Painted the head and feet with acrylics, let it dry and tried to build up his body with copper wires.

Added some batting and just rolled over some white thread to keep it in place.


The first pice of fake fur (obviously). x)
Since I had no idea what pattern this thing is going to need, I improvised... Just cut out a rectangular pice and tried fitting it on the body, hand stitched every edge in place.

 And did the same with limbs.

 Cut the fur shorter around the paws and the tip of the tail. Also glued together the open edges with paws with hot glue and painted his eyes~ :)

 Now this is one strange thing... I wanted to do something like spikes on the critters back and how the heck should I connect them? I can't hot glue them on... They would break off eventually. And I can't sew through the clay... xDD So... Did sth like this. Twisted together from copper wire, sculpted the spikes on them and then painted with acrylics + varnish. 
Oh! Oh! And you can see the two main tools I used for sculpting the whole time. ^^

Finally sewed on the spikes and lots of plastic beads. :)

And now, that everything was done, it's photo spamming time! ;)


Want to see some more?
You can see this lil' critters 'adventure' walk in the park fb album if you clik on the pic. 
CLICK IT!

Thursday, August 16, 2012

J.Lo

 Found an ancient cut out magazine page of Jennifer Lopez and suddenly wanted to draw it. c: 
Sketched with HB 0.5 mechanical pencil and used grids. 

 Drew the lineart with Unipen black marker 0.1 and covered the lightest spots of the pic with masking fluid. Also, Ive given up on using old brushes, just use a wooden barbecue stick! :>

 Used a mix of yellow ochre, sepia and english red.

 Still the same mix, only added more english red.

 Same mix as before, but didnt dilute the colour.

   Added dark brown and dark red for the lips.

 Diluted yellow ochre~ 

 More ochre + sepia and red + brown tones on the shirt.

Carefully removed the masking fluid  and tried painting the darkest parts of hair with dark brown + purple.

 Worked everything over with ochre tones again...

...and finally overdrew almost all the black lines, corrected the hair a bit with white acrylic, some splatter, scan, colour adjustments and tadah~ :3

Wednesday, July 25, 2012

Graduation Dress

 Yup. Since I didnt find a dress of my taste or that wasnt excessively expesive, I did my own dress. Made this in 2 days, 'cus that was the time remaining for the graduation. xD
Hah... Well, its past a month now, but took some pics along the way and here they are~ c:

The sketch~ Something with a twist of victorian-ish loli dresses + military elements? Before buying the materials, it has to be certain what the heck I will be making. xDD
And yup, I drew this in April, but still left the material and sewing part in the last minute.
I made several desing sketches, but this was the one I liked the most. :)

The very first idea was to make a white or blue-ish dress, but somehow ended up with the classic black-white-red combination. Again. :|
I loove velvet~ So, bought black velvet, three different shades of red velvet, white cotton and black lace fabric. The buttons are plastic. Also bought some red velvet and black lace later.
I kept all the checks, summed up the costs and the total was ~30€. The most expesive material was the black velvet (half of the total). :I

 Let the trial-n-error part begin! No, I didnt use any kind of magazines given patterns for this. Heck, Ive never used one :I
Took the main lines from a T-shirt and drew out the rest with free hand using chalk. Constantly checked, that everything would be in the right size. Its always better to draw/cut out the pattern a bit bigger, because you can always sew it narrower without having to rip up anything. Also! Since I use an overlock machine, I have to consider that I have to leave ~1cm spare edge everywhere.

Front and back pieces. Also made slits for the back pices later- to make it "sit" better on the figure.

Ive had some very terrible experience before with pins and shifty velvet. Sewing the parts together by hand before sewing with the machine is a must! I wanted to make this as a half corset dress, but I was short on the glued fabric. -.-

The skirt part! First cut a rectangular shaped pice of the longest side of the black velvet (about 150cm) and then tried shaping the folds with pins on the mannequin.

Carefully took it off from the mannequin and marked the folds on the back side of the fabric, cut the unnecessary upper part.

Took out all the pins, folded the fabric in half and cut the other side in the same shape +added mirrored folds markings.

And pinned everything together again. :D

Sewed on the hidden zipper...

...and then pinned and hand sewed on the white skirt part whit the upper body part. The mannequin is upside down here. I pinned down the sides and then started dividing the fabric in half- pinned down a point, divided in half again and pinned down. The white skirt part is a rectangular shaped pice sewed together with the black lace fabric. The black skirt part from before is also under there.

The sleeves~

Welp, the half circle shape didnt hold shape like I expected it to and the second half cirlce shaped sleeve came out a bit bigger... So, boldly cut it shorter. c:

I wanted to make a lil' red bow on the back. ^^
Cut out a rectangular shape- folded in half- sewed together- tuned the right side out- folded together the open sides and "frilled" it together. Did the same with the other side, sewed both together, and voila~ A bow look alike. :D

Did the same with all the 3 shades of red and sewed the pices together. 
Now that I look at it... I guess it would have been better, if it was a bit bigger. :I

TADAH~ :D
Added lace on every edge, golden buttons + chain and the front frilly red thing is sewn on by hand. The rose is made from a satin dark red lace.


Hah... I guess its good enough for 2 days. xD