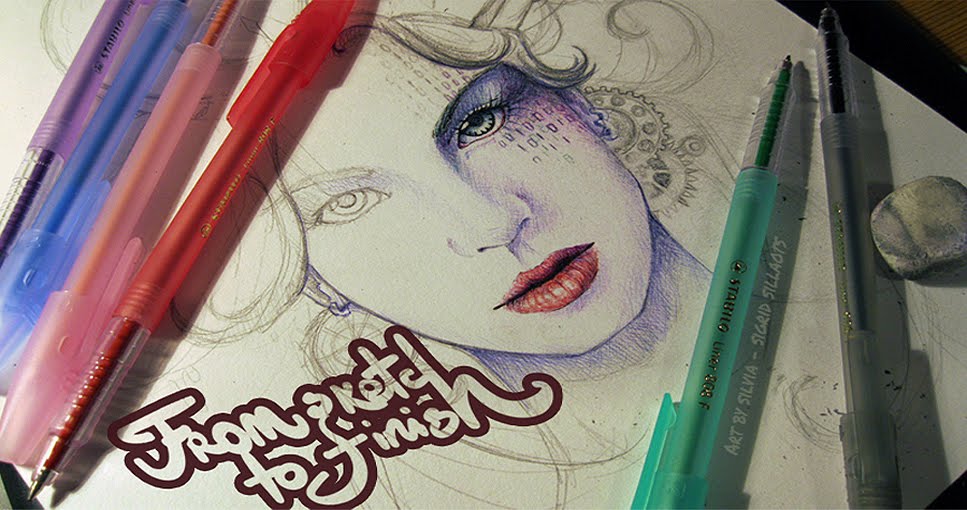
Hey, hey, hey~ I've been... Busy... But hey, look, an update!
I made a cosplay of Haven Trooper or aka a FROG, regular female soldiers in Metal Gear Solid 4: Guns of the Patriots.
Getting the reference material was quite fun, because... Heh, there was a time when MGO was still active... So, for the sake of perfect cosplay refs, tried my best to get enough points over there to buy a Haven Trooper skin- it could be zoomed in, rotated 360
°, every possible angle was there. (haha, it took two months. :DD) And oh, how I love the photo taking option in MGS4~ Got to knock out and paparatzzi some Troopahs~ c:
For the little barcodes and texts reference the best (and most readable) character was Vamp... He has exactly the same pants/bottom pice as these troopers and sharper textures in the game. x)
If anyone is interested, here's my reference material of the MGO version- https://www.facebook.com/silvia.sillaots/media_set?set=a.330804660367434.75822.100003137086929&type=3
Well then~ I did start with sketches, but quite a lot of time has passed now, and... I can't find 'em. Hah. But started with the body part as usually- covered the mannequin with newspapers, drew on the patterns and cut them open. The body part here is my second try becuase... Strechy lycra and slippery vinyl doesn't really match. :D
Had to throughly hand stitch the two different material pices together before sewing with the machine. Also, on the back the middle shape is stuffed. All the holsters and little magazine/grenade bags, pouches were made the same way- first of newspapers, and eyeballed, compared the sizes to the pices I've already made.
The most important part of this cosplay is obviously the helmet. Since I didn't have enough patience to mess around with pepekura and wanted to start making something right away, then... Yeah, eyeballed, compared with references and started bulding the helmet pice by pice.
Made of cardboard, newspapers, a bit of camping mat, PVA and hot glue.
For the base used a hollow plaster head I've made of myself. The top of the helmet would have been better to make out of a big round plastic bowl... But I didn't have one big enough, so used a balloon, more newpapers and white glue.
Covering everything up with more newspaper and PVA/white glue layers. At first I only made half of the mask, because I wanted to make the front and back part detachable, but... I couldn't figure out how to connect them, so built the back of the helment onto the front part.
-How it looked from the inside. I made the headphone-ish things, the front space between the eyes and the area near the jaw line too short, so, cut those part apart, hotglued/taped some more cardboard between and fixed it again. Constantly sanded, added thin layers of filler and finally covered with gesso.
My very first simple LED connecting... :D Solberting the pices together. It's... Actually so easy, but it took quite a while to figure out how not to burn another line of LEDs for nothing. -.-
The finished base of the helmet.
Haha~ Figuring out how to mix such an odd beige colour took it's time, but quite happy with the result. Some asymmetries here and there, but hey, that's what cha get for eyeballing.
Paintd with acrylics and added glossy varnish. Fot the texts I... Printed out all the texts and then letter by letter measured the hight, width, marked with little white gel pen dots and then painted them on with a small brush and white acrylic.
The armor~ Everything made of foam camping/joga mats, hotglued together. Again... Sine I had no idea of heat guns, then taped a lot of copper wires behind the foam to give it a shape. Latered glued on a brown fake leather/vinyl layer and inside covered with PVA.
Welp, now I can say, DONT EVER DO THAT. Seriously! Idk, what was I even thinking... Since most of the body is tightly covered with foam armor, the skin can't breather and all the pices I had covered with white glue... The glue started melting with body heat and now ruined the bodysuit compleatly... ;^;
-How the round elbow and knee joints were made.
Cut out an oval foam shape, snipped a lot of little triangle shaped cut in on the edges and taped it all together, so now the foam hold in a round shape, also covered these with stockings, ~4layers of white glue, coloured with acylics+ final finishing varnish layer. At least this way, with the stocking layer, I could sew these parts on the bodysuit.
For the little round rivets she has EVERYWHERE, used some washers. At first I thought they were bronze, but after playing MGS4 again and looking more closely at these things.. They seemed more golden, so~ recolour all 'dem little things.
Sew the washers on and coloured the threads golden... Yeah, sewed them on, because with hot glue they dropped off after a while.
The shoes~ These were funky lil' bastards to walk in. The nails shouldn't be too long, since they *will* get on the way when you walk or just break off and... As you can see that one nail on the newspaper on the top pic, yeah... I had a carboard strip between my every toe. :|
The holsters~ The so called 'grenades' and P90 'magazines' were there only to make it seem like there was something inside the bags/pouches. The "grenade" shells were made of waterballoons+ papier mache, and for the magazines- only a pice of porolon, top part coloured black.
Machete, machete, macheeetee~ I loved making this pice~ Made it of plywood, the holster is of foam covered with vinyl and iron on studs. The smaller blades were later remade of plywood too, since these carboard versions... just got lost on the first con day. :D
And that's it~
Competed with this cosplay at EuroCosplay2012 in London and also, there was the 25th anniversary MGS cosplay contest on the same day when I was there, so... Took part and got the first place there... :D
Met a lot of awesome people, fellow fans, cosplayers and this was definetly one of the most eventful days of my life, I'll never forget~ <3